
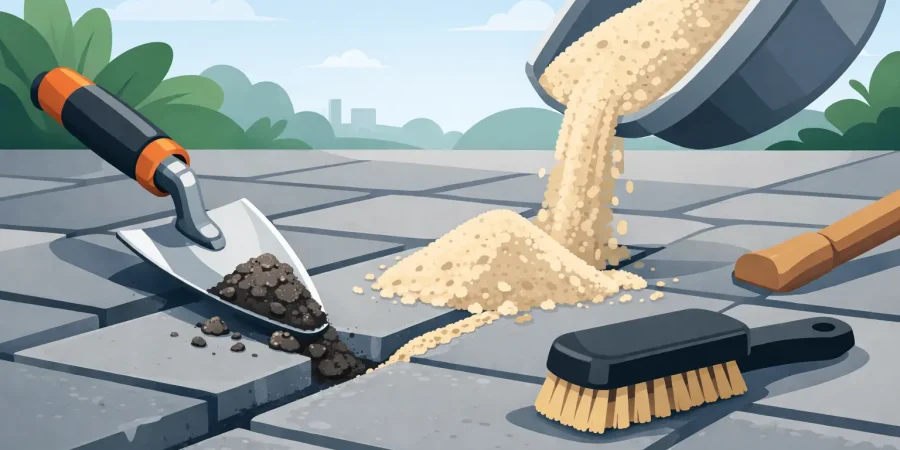
Freshly cleaned paving can look excellent for a few weeks, then the gaps start to show. If the joints between blocks are thin, patchy or empty, paving joint sand replacement is often the part that brings the finish together and helps keep it that way. It is not just about appearance. The right sand in the joints helps block paving stay locked in place, drain as it should and resist movement, weed growth and early wear.
For many property owners, the missing sand is only noticed after pressure washing or after a long wet winter. On driveways, paths and patios across the South Coast, weather, traffic and surface cleaning all play a part in wearing jointing sand away. When that happens, the paving can start to loosen, edges become less secure and the whole area can look older than it is.
Why paving joint sand replacement matters
Block paving works as a system. Each block supports the next, and the jointing sand between them helps spread pressure and reduce movement. Once those joints lose their fill, the blocks are more likely to shift under foot or under vehicle weight.
There is also a practical side to it. Empty or shallow joints tend to collect moisture, wind-blown dirt and organic matter. That creates a better environment for weeds and moss to return. Even if the paving has been cleaned thoroughly, poor joint condition can shorten the life of the result.
Good paving joint sand replacement improves the finish visually as well. The surface looks neater, more even and properly maintained. On a front drive or entrance path, that difference is easy to spot. Cleaner. Safer. Looking like new is much easier to achieve when the joints are finished properly rather than left half empty.
Signs your paving needs joint sand replacement
Sometimes the issue is obvious. You can see open joints, loose grains scattered across the surface or small gaps where the sand has dropped well below the top of the blocks. In other cases, the warning signs are more gradual.
If weeds keep appearing quickly after removal, the joints may not be holding enough sand. If blocks feel slightly loose underfoot, the interlock may be weakening. If rainwater seems to linger in places where the surface used to drain well, disturbed joints may be part of the problem, especially where dirt has begun to settle into the gaps.
Recently cleaned paving is another common point to check. Pressure washing can remove grime and growth very effectively, but it can also wash out existing jointing sand. That does not mean cleaning is the problem. It means the job is only properly finished when the joints are resanded afterwards.
What causes jointing sand to wash out?
Weather is one of the main reasons. Heavy rain, repeated freeze and thaw cycles, coastal exposure and general wear all affect paved surfaces over time. On the South Coast, wind and damp conditions can be particularly hard on exposed driveways and patios.
Usage matters too. A lightly used back patio will usually lose jointing sand more slowly than a driveway that takes daily vehicle traffic. Turning wheels, braking and weight all place more stress on the surface.
Cleaning methods can make a difference as well. Professional cleaning is often the right way to restore paving, but if the area is not resanded once dry, the blocks are left without that essential joint support. In short, washing the surface without replacing the sand leaves the job incomplete.
Paving joint sand replacement after cleaning
This is where many surfaces either hold up well or start to slip backwards. After a thorough clean, the paving needs time to dry properly before fresh kiln-dried sand is brushed into the joints. If the surface is still damp, the sand can clump and fail to settle fully into the gaps.
Done properly, the replacement sand is worked right across the area and brushed repeatedly so it fills the joints evenly. This is not a cosmetic dusting over the top. The aim is to restore the joint lines so the blocks are supported again.
It is also important to be realistic. If the paving has underlying movement, broken edges or areas that have sunk, resanding alone may not solve every issue. It improves joint stability, but it cannot correct deeper structural faults by itself. A good contractor will say so rather than oversell a quick fix.
Why the right finish matters on block paving
A lot of people judge a paving job by the cleaning stage because that is where the dramatic colour change happens. Fair enough – the visual improvement is often striking. But the finishing stages are what help the result last.
Well-filled joints reduce surface movement and help stop debris building up where weeds can take hold. They also help the paving look crisp and complete rather than freshly washed but unfinished. On commercial premises, rental properties and family homes alike, that detail makes a difference.
There is a safety angle too. Loose or rocking blocks are more than untidy. They can become a trip risk, especially on entrance paths and shared outdoor areas. Proper resanding is one of the simpler ways to support surface stability before more serious movement develops.
Is all paving joint sand replacement the same?
Not quite. The best approach depends on the surface, how it is used and what condition it is already in. Standard block paving usually responds well to kiln-dried sand once the area is clean and fully dry. Patios with wider joints or different paving materials may need a different treatment depending on the joint width and intended finish.
This is why a one-size-fits-all answer rarely works. A domestic patio used mainly in summer will not always need the same approach as a busy forecourt or shared driveway. The point is not to complicate it. The point is to match the finish to the surface so it performs properly.
For most homeowners and property managers, the practical question is simple: does the paving need cleaning only, or cleaning and resanding as part of a proper restoration? In many cases, if the joints are depleted, both are needed for a lasting result.
What to expect from a professional service
A proper service starts with the condition of the surface, not guesswork. The paving should be assessed for weed growth, staining, joint loss and any visible movement. Cleaning comes first where needed, followed by drying time and then careful resanding.
The difference with a specialist service is usually in the finish. Rather than rushing through the final stage, the sand is brushed in thoroughly and evenly so the surface looks smart and performs as it should. That matters whether the area is a small front path or a larger block paved drive.
It also keeps the process straightforward for the customer. You are not hiring someone just to make the paving look brighter for a weekend. You want a result that improves appearance, supports the surface and saves hassle later. That is the standard South Coast Patio Care aims for on every properly finished paving job.
When to arrange paving joint sand replacement
If the paving has recently been pressure washed and the joints look low, now is the time. If weeds are coming back quickly, blocks are beginning to move or the area looks tired despite being clean, it is worth dealing with before the condition worsens.
Dryer weather is usually the best time for resanding because the joints and surface need to be dry enough for the sand to settle well. That said, the right timing depends on the state of the paving and the local weather window. Waiting too long can mean more movement, more weed return and a finish that becomes harder to restore neatly.
A well-maintained paved surface does not just improve kerb appeal. It helps protect the value, safety and day-to-day usability of the space. If the joints have been overlooked, replacing the sand is often the small detail that makes the whole area feel properly restored again.
If your paving is clean but still does not look finished, the joints are usually the reason. Get that part right, and the surface does more than look better – it holds together better as well.